
For some reason, I rarely make blouses. I am not sure why. I love making them. They are so much fun to create in a variety of fabrics and you can be just about as creative as you want. Why did I wait so long to make this one up? Here is my review for Burda Style 7189
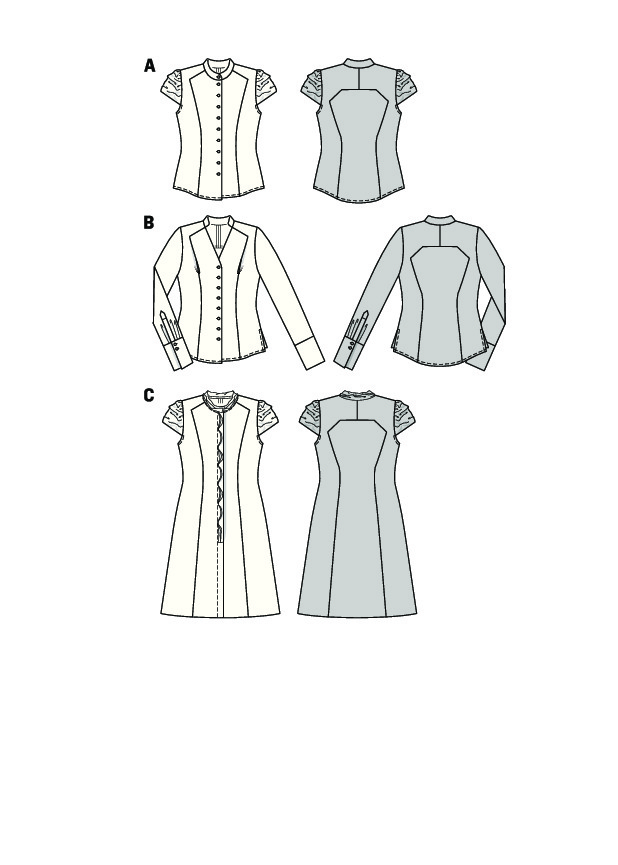

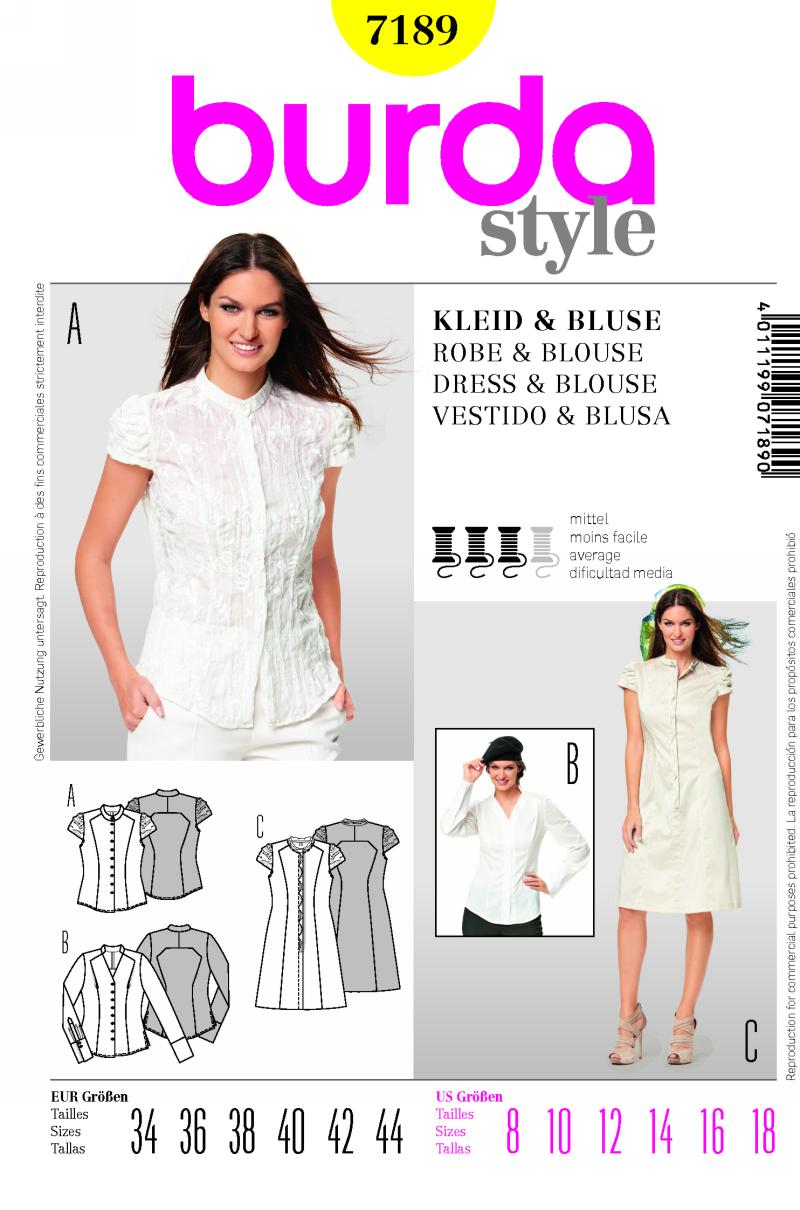
There is no description on the back of the envelope. Not sure why? So here is mine: semi-fitted blouse in either short or long sleeves or dress with princess seams and pleat detail, that button up the front. The dress has a hidden placket. Dress and short sleeved blouse has stand collar and blouse b has a partial stand collar. Long sleeved blouse has plackets and long cuffs. The back has a yoke detail and princess-type seams.

I used this yummy print from Marcy Tilton. I believe it is just about 100% cotton but with some sort of special treatment to prevent wrinkling. The photo really doesn't do it justice! I used two layers of light gray interfacing from Fashion Sewing Supply. I used the 'Couture' light weight fusible interfacing. The gray worked perfect with my fabric!
Finished product--yes, it does look like the pattern envelope, don't you agree? I was a little worried you wouldn't be able to see the details with my busy print but it did work!
What I like/dislike:
The styling--it is unique and I love the fit. I did cut it two sizes larger than I do with the big 4 since Burda doesn't fit me well in the bust area. I probably could have done a FBA, but when I made my muslin, I found that I liked the fit everywhere, so I just made the larger size. It is modest for work--a bonus!
What I didn't like was the directions for the placket/cuff. What a pain it was based on the directions provided! I read it numerous times and still didn't get it so I followed the visuals which were ok, not stellar, but fine. If you've never made a placket before, find a different set of directions and follow those for this step!
 | |
| The sleeves look just fine cuffed! |
 |
| The placket that drove me crazy! It did turn out nice. |
I also found the pleating a little quirky. Based on the written and verbal directions I spent quite a few minutes scratching my head. I finally figured it out and it worked fine, in fact I really like that detail. The back and back yoke are unique and while most of the big four patterns have you do all this pivoting, which I dread, this one is sewn in two steps and it works perfectly!

Modifications:
I made my usual 1/2" sway back adjustment. I have a picture of that here as a follower of my blog asked how I do this. For woven fabrics, I make a slit at the back waistline to about an inch from the seam allowance on the other side and I fold the top over bottom so that a total of a 1/2" is removed. I've included a picture here:

I did add staystitching to the areas that you cut into to accommodate the yokes on the front and back. I plan on wearing this blouse a lot and didn't want the fabric to give without that extra support of the stitching.
I found the length of the sleeves to be long--but then again, they are very long on the model as well. I am 5'7" and typically don't have to alter the sleeves at all, so you may want to check the length before you cut this out. You may need to adjust. I added topstitching to some of the seams that you can see in some of my photos. I like to topstitch and think it is fun!

I enjoyed making this blouse. I may make a short sleeved one soon for summer. The dress is also pretty cute and would look great in a variety of fabrics.
Thanks for reading!
Sue
No comments:
Post a Comment