About Me

My photo
Sewing is therapy for me. I hoard fabric, patterns, notions, and spend more time shopping for fabric than I care to admit...

Monday, June 29, 2015

Take 2 on McCall's 7093

Ever file a pattern away and then think about it almost endlessly?  That was my story with 7093.


I just love it!  So, off to my stash to find a fun fabric to make another floaty blouse for summer. Here's my first version that I LOVE so much!


The rayon used for this top was purchased from Fabric Mart very recently and the colors really spoke to me!  Black, teal, fuchsia, purples, and creamy white.  Yum!  Plus rayon is so comfy in the summer months as it really does float over your body.  :)  Always a bonus, amirite?


Of course I had to change it up just a bit by adding an exposed zipper in the back.  That was super easy and all I did was the following:


  • Measured the length of the zip and added an inch.  Cut out a corresponding length of fusible interfacing in a light weight to give the top enough body so it didn't hang funny but actually supported the additional weight.  


  • After fusing, I used a ruler and marking pen to draw the placement lines for the opening.  I drew these lines on the interfacing so they'd be easier to see.  The print on the Challis is busy to say the least!  


  • After double checking the lines were straight and even, I stitched on those lines with a 2.4 mm stitch and then cut down the middle to about 1/2" from the bottom, clipped to the corners and pressed.  I used steam-a-seam on the zipper and that helped me position it just the way I wanted in the opening. Next, after I was satisfied with the placement, I topstitched on the right side twice, once 1/4" from the opening and the next about an 1/8".  I like how it turned out!  


As I did before, I had an FBA and swayback adjustment already drafted into the garment and my only other change was to try the top on and pin where the shoulder darts worked best.  My first round, I messed with those pesky darts quite a bit and this time I stitched then where they wanted to lay on my shoulders.

I still love this pattern and will have to make one for fall, of course in a tunic length so I can wear it with skinnies or leggings.

As always, thanks so much for reading!!!
Sue

Saturday, June 27, 2015

A little summer jacket from Kwik Sew!

I hope your summer is warm and sunny!  In my neck of the woods, it seems to be struggling to stay in tune with the date on the calendar....warm then cool, blazing hot one day and then a cold front from Canada sets in and bam, it feels like fall!  I think I need some layering pieces...and this little jacket from Kwik Sew--3334 to the rescue!

Kwik Sew Misses Jackets 3334

And, here is my version.  I just love the pink shown in the photo above and will be on the lookout for a fabric like that for my next version!  It is so stinking cute!


I choose a rayon suiting fabric from Fabric Mart that I just love!  It was heavenly to work with.  I love how the checks/plaid is woven into the fabric, not just stamped on.  Fabric Mart has some lovely suiting fabrics out there and I haven't been disappointed in any of them!


A photo bomber!  My son who has interjected himself into the photo above without my knowledge is only participating in this photo shoot as his lovely fiance is taking my photos.  Thanks Valerie!   


I just love the bracelet-length sleeves and the notched collar.  This little jacket took less than two yards of fabric so it was a very economical to sew.  I was very concerned about trying to match the pattern but since it is so small, it was super easy.  It is unlined and fitted with princess seams and a wide neckline. I also used the shaped front hemline on mine.


Of course I modified this a bit.  But first an aside to explain my changes.  I am taking a class on Craftsy from Kenneth D. King on making a jacket and he recommended a few things that I decided to incorporate.  First was to staytape the edges of the garment NOT cut on the straight grain: for example, the armhole areas and neckline.  I simply used HugSnug seam binding that I've had in my stash forever and it worked great. It didn't add any bulk to the seam, is invisible from the garment's right side and according to Kenneth, will extend the life of the jacket--score!


As this little jacket is unlined and I simply didn't want to just serge the seams, I decided to use a contrasting cotton for the Hong Kong finishes for a pop of color that could be visible when I moved just right and I think I achieved that!  This bright orangy-yellow was also from my stash.  I cut one strip for each seams and applied before constructing the garment.  Seriously, this took about an extra 30 minutes and I think the results were well worth it!  I even added the bias trim to the sleeve and jacket hemlines, although those to locations were added after construction.


I just love my little jacket!  It is such a great layering piece and works well with so many other clothing options in my closet.  I needed this jacket!

I used medium-weight fusible interfacing from Fashion Sewing Supply and wasn't disappointed in the least.  That stuff truly is the best when it comes to interfacing.  My buttons are from FSS.

My only alterations were to make an FBA and swayback adjustment.  The sleeves I left as is so if you are shorter than 5'7" or don't have average length arms, you may need to check the length.


I did wonder a bit about which color of thread to use for the button holes and 'auditioned' three choices from the garment.  The red thread you can see is a heavier denim topstitching thread and I used it sandwiched between the fabric and the button thread.  This is called a corded button hole.  You trim the extra away red thread and since the button holes are dense, the red doesn't show.  It makes the buttonholes pop up on the surface of the fabric and is a nice touch.  I ended up going with the medium blue.


Thanks for reading!  What are you sewing to supplement your summer wardrobe?

Sue

Thursday, June 25, 2015

One fabric, two looks!

Don't you just love it when you purchase a fabric that is even prettier in person than the you thought it would be?  For me, that is this summer-screaming four way knit from Fabric Mart.  It has so many of my favorite colors in it: purple, various greens, blues, black, and white!  It is so soft on your skin too, bonus!

Garment one is Kwik Sew 3703. What took me so long to purchase and make this pattern up?  Such a classic style and who doesn't want to look comfortable and chic during the summer?


This image from SPR seems to have come straight from Kwik Sew's catalog!  

Obviously I made view B although don't be alarmed, the pattern is really that short, this is my wearable muslin and I opted to leave the contrast bottom band off.  


I knew I would wear this with leggings and I think it is a great tunic length!  


Sewing the neckline and armhole bands was a little futzy.  For one thing, I had decided my coverstitch had been in time out for long enough and I broke it out at a semi-private sewing class to finally master the thing or put it up for sale.  I knew I would have time to construct this on my serger when I was at the class.  I just didn't bring my regular Bernina so I could baste the bands before serging.  


The first armhole, I simply pinned it in four places around the opening and stretched until it fit.  The second, I pinned so I had more stretch at the depth of the armhole and less at the shoulder seam and this seemed to work better.  I did coverstitch the hemline and around the neckline and arms to give it a decorative element.  I won't show you a close-up as I still need some practice on getting this as perfect as I'd like but at least the coverstitch and I are speaking now, me much more appropriately to what I hope becomes a workhorse in my sewing room.  

My only regret is that I didn't use elastic at the shoulder seams...I had a tiny bit of puckering there...I think the elastic would have helped with that.  


This is a great little pattern!  I hope you'll try it.  I hope to make the maxi next. And, it looks like a need a slight FBA...I heard a very wise seamstress once say...the item you just made prepares you for the next one.  Very wise, right?   


Next is a little top that I was hoping to make a dress but cut wrong...I hate it when that happens but I do really like this little top and will wear the heck out of it, probably more so than another dress.  
McCall's 7064 is such a fun little pattern!  I wasn't sure about the ruching at first but now that I've made it, I LOVE the effect! 


It is simply close fitting--as if you can't tell by the photos, and has no buttons/zippers.  You can vary the sleeves, go without sleeves, or make it into a fun little drop waist, ruffly dress.  It really doesn't take much fabric either--less than two yards for the long sleeved dress.  


This went together fast and easy and I think it is darn cute!  I put a band at the neckline and made an FBA.  This pattern has negative ease and since I didn't want it that fitted, I went up a size.  Normally a 14 in patterns is just about perfect for me, but this time I made a scant 16 and am very pleased!  

I coverstitched the hems on the top bottom and sleeves and I think I am falling in love with that blasted machine!  

I hope to made dress D for fall and that it will accommodate tights and a jacket for winter.  I just love multi-purpose clothing!  

Thanks for reading!!!
Sue 

Tuesday, June 23, 2015

Just in time...white leggings!

How is your summer going?  Is your weather cooperating?  Ours--sort of? Need some layering pieces like me?  Leggings to the rescue!


I think it is easy to know which patterns I favor.  McCall's just are the bomb for me!  7122 is a basic raglan sleeved top, dress and leggings pattern.  I've made two dresses and a tunic, now time for leggings!


These leggings have one piece to them--yep, one!  There are no side seams and the waistband it attached.  I purchased a yard of rather stretch scuba knit from Hancocks and got to work.  I had to lop about six inches off the bottom but I think the length is perfect for spring, summer, and fall.  This is a VERY economical pair of pants!  The fabric was half-price and the elastic was from my stash so these cost about $5!!!  And, they are VERY comfortable.  SCORE!!!


So, here is what I modified:
1.  Length--see above
2.  Waistband casing--You can see where I serged the edge.  I know it's unnecessary, but at first I was going to make the casing and decided against it.  Here is what I did instead: eliminated the casing and choose to attach the elastic directly to the waistband by zig-zagging it to the top most portion of the garment, fold to the inside and then use a triple stretch stitch to secure to the pants.  I have an almost ripple free waisband that lies flat, doesn't roll, and is neat and tidy.  Love it!


3.  I ended up taking these in about 1/2 on each inseam to get a closer fit.  That means a total of about an inch on each leg from the crotch to the hemline.  If you have really narrow legs, check that out before making your final seam.  I could have gone tighter but I like how these look.  If I was tucking them into boots, I would take them in more.
4.  I broke out the pesky cover stitch machine and used that on the hemline.


Cut out to pulling them on took about one hour--seriously!  That is it!  A fast and gratifying sew!

Thanks for reading.  And no, I won't show you a full on butt shot, I don't want to give anyone nightmares!!!


Sue

Wednesday, June 10, 2015

Butterick 6216 to the rescue!

I wanted a fast make for an upcoming trip to see DD1 and SIL1.  Even though I have a billizion patterns, (yes that is a real numerical value for an out of control stash...) I just couldn't find one that jumped out at me and said, YES my turn!


I did what any girl would and drove to Hancocks and found, oh lucky me!, that Butterick patterns were a measley dollar something.  So, purchased several.  I mean, I had to...am I right???

Butterick Misses' Tunic 6216


Butterick 6216 to the rescue!  Isn't it darling with the all business in the front but a definite party in the back!  I choose view A and had the two perfect fabrics from my stash that I knew would work perfectly!  I don't sew a lot of Buttericks, but with my success, I will be sewing more!


Instructions are very clear and easy to follow for this.  My two fabrics are remenants from other projects--both tops!  I don't recall the fiber contents but they are similarly stretchy and had good recovery.


I used seam binding instead of bias tape to stabilize the shoulders.  I thought it worked great!


My only real deviation from the directions/design was to hem the back undershirt portion and cut the top front and back slightly longer so I had room to turn and hem the same length as the insert.


I really like the neckband is included for the pattern that was very well proportioned and went in the neckline easy with no ripples!  YAY!


This top goes together easy and fairly fast!  I would say it took longer to hem the back overlay than it did to make the entire thing!


Oops, almost forgot that I made an FBA and also a swayback adjustment.


I just love my top, mostly because of the colors--this watermellony or geranium is one of my favs!!!


Thanks for reading!

Sue

Tuesday, June 9, 2015

The Men in my life!

Have you ever sewn for the men in your life?  Do you have many of them?  I have a husband, father, two sons two son-in-laws and an adorable grandson.  That is a lot of men!  I decided to create a shirt for them all, except for my father who is probably one of the pickiest people on the planet when it comes to clothing....but that is another story!

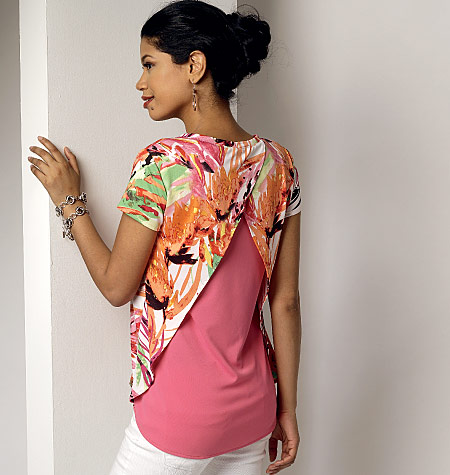
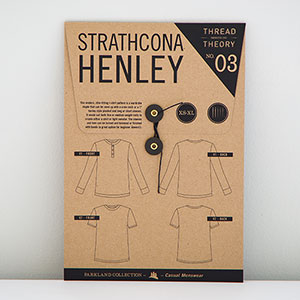
I chose the Strathcona Henley from Thread Theory as my pattern base.

I

I like the slim fit of the top--do you call it a top for a man?  Maybe I'll refer to these as a tee shirt with variations.  The pattern is described as a modern fitting, or slim fitting tee with neckline variations, sleeve length options, and the opportunity to create a Henley placket if you desire!


I briefly asked several of the guys what color of a shirt they would like/possibly wear if I made them one and they came up with gray or blue. Funny in a weird sort of way!  So, I made things easy on myself and ordered 4 yards of gray and 4 of the navy blue.


Both are lighter weight poly blend with good stretch and recovery.  I also let each of the choose their preferred style: long or short sleeves, placket or not.  I guessed on my grandsons as he is only 21 months and probably doesn't really care as long as it is comfortable.


The first shirt I made was for the hubby who wouldn't benefit from a slim-fitting top :).  I knew I would have to majorly alter the pattern to fit him.  The size range on this pattern is XS to XL.  The size on the pattern for an XL is 46-48" chest and 40-42" waist.  Without telling you his exact measurements, I knew I would have to widen the waistline by at least five inches so I added three inches to each side starting under the arm and ending at the hemline creating an a-line shape.  I only did this on the front shirt as I was thinking about how for me I have to create FBAs and I only do that on the front of the garment, not the back.  He also wanted elbow length sleeves and the crew neckline.


Construction is very easy and intuitive for this top and the instructions are really very good!  A beginner could tackle this with the right fabric and a good set of measurements--which in hindsight means more than just the chest and waist.  You also need to measure neckline length and depth, shoulder area and sleeve length.  All the necessary steps are in place for this pattern--stabilizing the shoulder seams.  Have you ever watched a guy pull off a shirt?  Not at all like I do which is carefully. They just grab the back of it by the neckline and yank.  I made sure to sew a stretch stitch everywhere and I topstitched everywhere as well just to keep this from falling apart in the future.


My first go for the hubby didn't receive the reaction I was hoping for--he HATED it!  He didn't like the lightweight fabric and he prefers his tops loose, not a slim fit as the pattern calls for.  I had him get a tee from his closet that he likes the fit of and I found a heavier all cotton knit and drafted my own pattern for him.  Success!  I have his approval now yay!


Next up was Daniel, my youngest.  He isn't a big guy.  His adorable wife makes him eat as he forgets! No wonder he ended up with the smallest shirt--next to the grandson of course!


Daniel needed a small shirt.  His chest is 36.5" and waist is 31.5.  He is always cold so he asked for long sleeves and in blue, just like dad!  He also wanted the shirt to look like he was wearing a short sleeve top over a long sleeve so could I put gray long sleeves there as well?  Of course I can!  In the photos, he is wearing Kevin's shirt but holding his shirt.  Why?  No idea but that is what he wanted to do so I rolled with it.


Andrew, my oldest son is the only guy requesting a placket.  He asked for gray and needed a medium as his chest is 40 with a 34 waist.  He is about 6'2" and I also measured the sleeve length for him as I was concerned it may be a little on the short side.  The placket directions for this tee are very interesting and drafted pretty much like what I imagine an engineer to draft a placket like.  It isn't difficult at all but there are a few steps that do help you get a very nice looking placket.  My only regret with this is that I wish I would have interfaced the placket area on the shirt itself as with this lightweight knit, it isn't the best placket I've ever made but it will do for Andrew.


Now, onto the son-in-laws.

Kevin and Daniel as just about exactly the same size with Kevin's chest being an inch bigger but with the same waistline.  He lives in Baton Rouge so I knew that he'd rather have a shirt a little bigger than smaller with all the heat and humidity present.  I went with a medium for him.  He too wanted gray with short sleeves.  I had a little mishap with his top and as I was trimming threads I accidentally cut a small hole in the sleeve.  Did I mention his was the last make of six shirts?  I just about cried but then remember that Thread Theory sends you an awesome little label for your shirt so I stitched that over the slit and now it is a cool design element--sorry you can't see that in the photos!


Brad, or son-in-law 2, needed a large with a chest of 44.5' and a waist of 39.5.  He is a solid guy and so is his son, my adorable grandson, Simon!

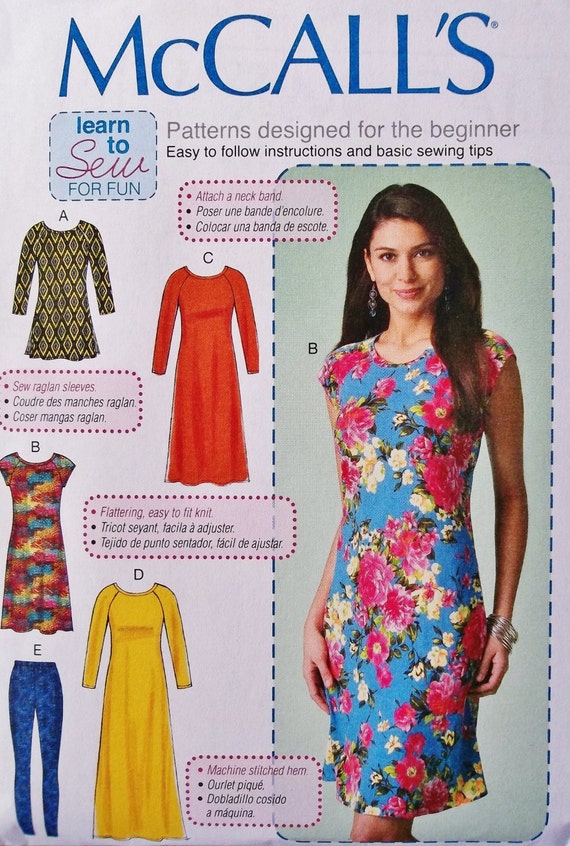
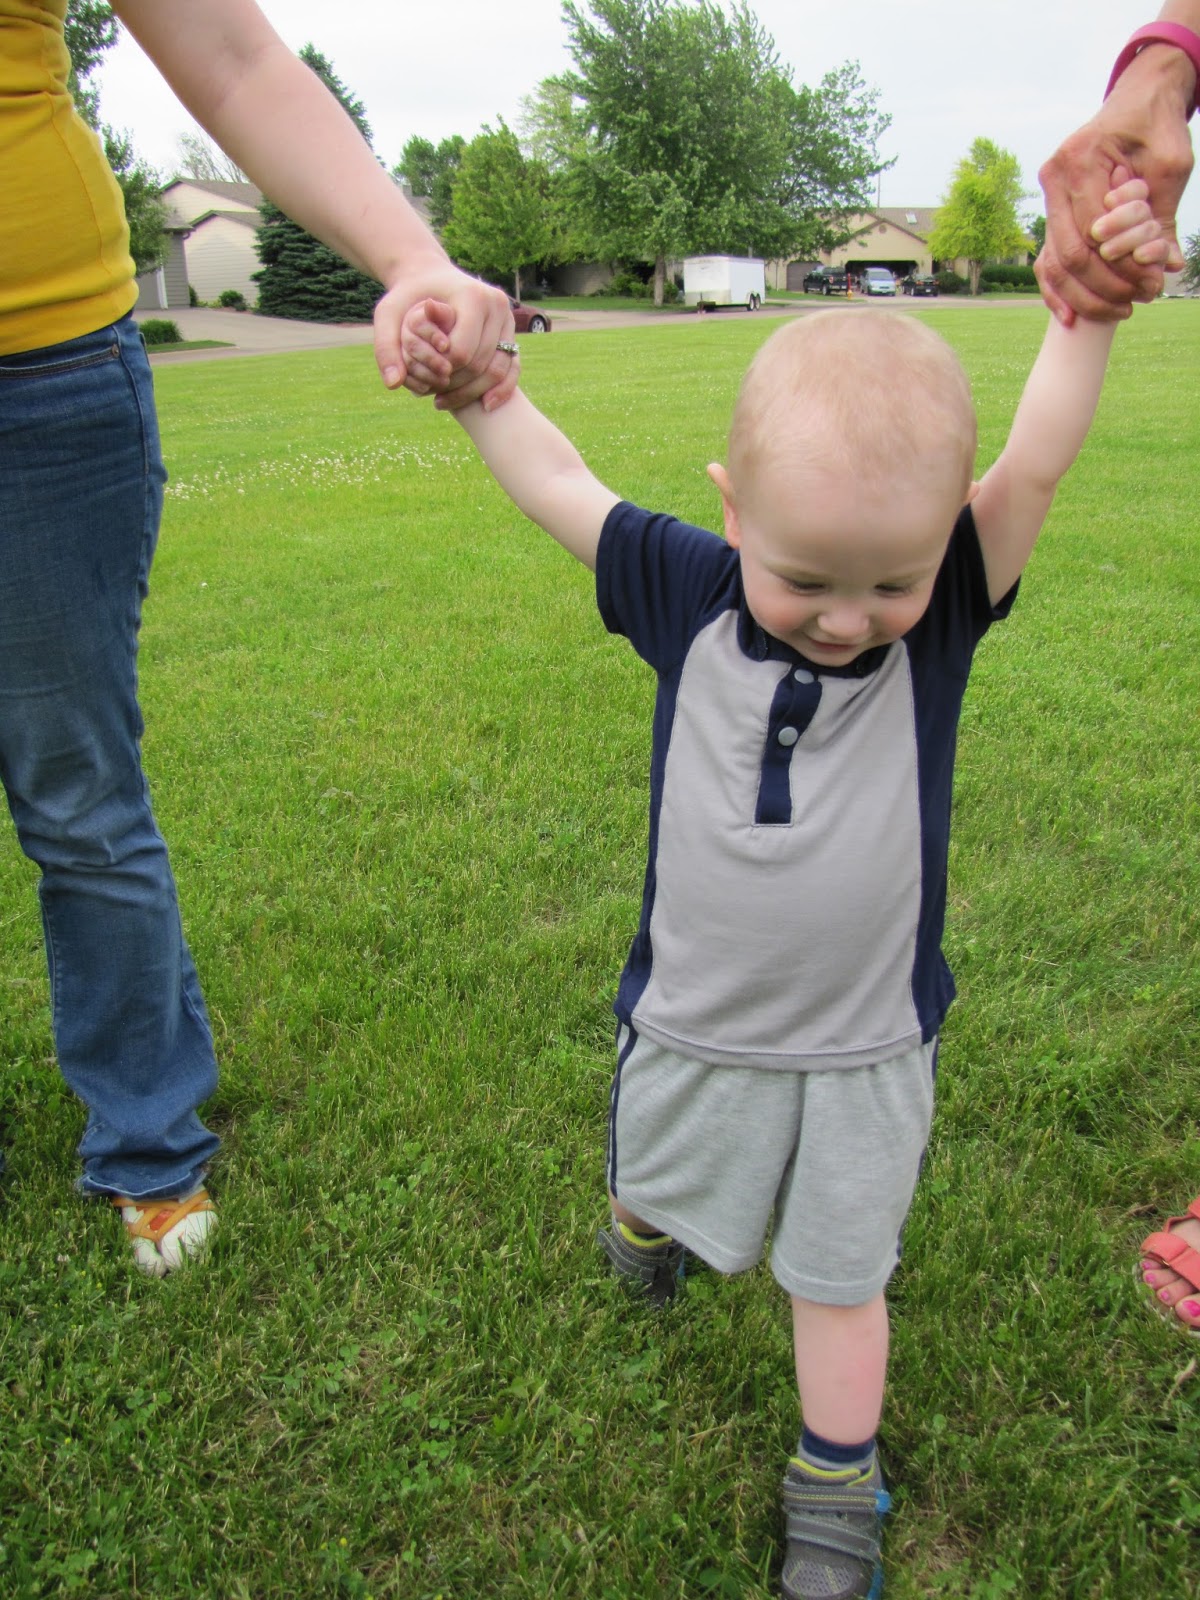
Simon's shirt was a mashup of the blue and gray and I used McCall's 6683.


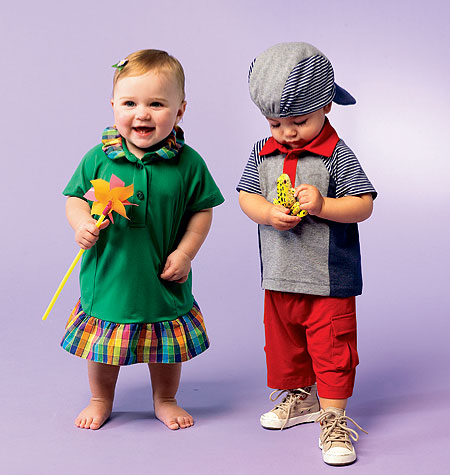
I'd made the romper for him before and knew the pattern would fit.  I just left off the collar but kept the stand.  Simon measured 20 chest and 21" waist.  I asked his mommy if she wanted another onesie for him and she said no, simply because he occasionally likes to play with his belly button.  Oh the joy of being less than two years old!


It was interesting and fun to sew for the guys in my life.  They are just a picky when it it comes to fit, color, fabric weight and texture.  I'd really like to introduce some more color into their worlds but at least I didn't have to make six brown shirts.  Gray and blue was at least some variety!


Thanks for reading this very long post! Try this pattern from Thread Theory Designs, as long as your man is very slim and doesn't mind a clingier fit.  It's well drafted and looks good on a smaller sizes and shapes--as long as you aren't out of square--meaning your waistline is larger than your chest!  I'll make more of these if they ask, or maybe I'll just make more and give away to all these guys!

Sue