About Me

My photo
Sewing is therapy for me. I hoard fabric, patterns, notions, and spend more time shopping for fabric than I care to admit...

Wednesday, August 30, 2017

McCall's 7543 More tunic love!

I love this pattern.  This is my 2nd go at it and I think I love the sheer simplicity of it even more now than I did the first time I made it.  Here is my first make: 

Image result for images McCalls 7543

There is just something about how this fits on my shoulder area that makes me smile!  

Image result for images McCalls 7543

Obviously my first version was view B and this time I made the sleeves of D and the shaped hem of C in a tunic length.  


I used a very lightweight denim from JoAnns.  This has been in my stash for a bit and I decided to just make this as I've seen so many cute denim tops lately.


See what I mean about how it fits on my shoulder/upper arms?  It doesn't slide down nearly as far as the pattern model does and that is just fine with me!  


I honestly don't mind that it dips lower in the back than it does the front and no, I am not wearing it backwards. 


I do like the elasticized cuff with this one.  Although those little ties on view B are super cute.  I didn't have enough fabric to make that version.  


I love this tunic.  It is the perfect showcase for my jewelry!  

Thanks for reading!
Sue 

Monday, August 28, 2017

Loose-fitting Simplicity 1106

I love the shape of this top.  Not sure it is the most flattering on me, but then again, some days I am all about comfort.

Here is the pattern I used:

Image result for Simplicity 1106

I like all the views, but I was really drawn to B for some reason.  So that is the one I made.


This pretty fabric is a crinkly woven from Fabric.com.  The colors are so vibrant and it sewed really well, despite the crinkles. 


I made a medium in this top without an FBA.  I did make a sloping shoulder adjustment and swayback adjustment.


This is plenty loose-fitting without looking sloppy.  It could if you don't think about your fabric choice.  


My only minor gripe about this pattern is what you see at the center of the back neckline.  See how it wants to roll a bit?  I very carefully trimmed, graded, and notched my seam allowances.  I also edge-stitched it to keep it from rolling.  Dang.


I really like the subtle shaping of the neckline.  And you also get a better look at the fabric with its vibrant colors.


That little slit in the sleeve is pretty cute as well.  

Thanks for reading!  I hope you are getting some great sewing makes done this month!
Sue 

Sunday, August 20, 2017

The Penny by Colette

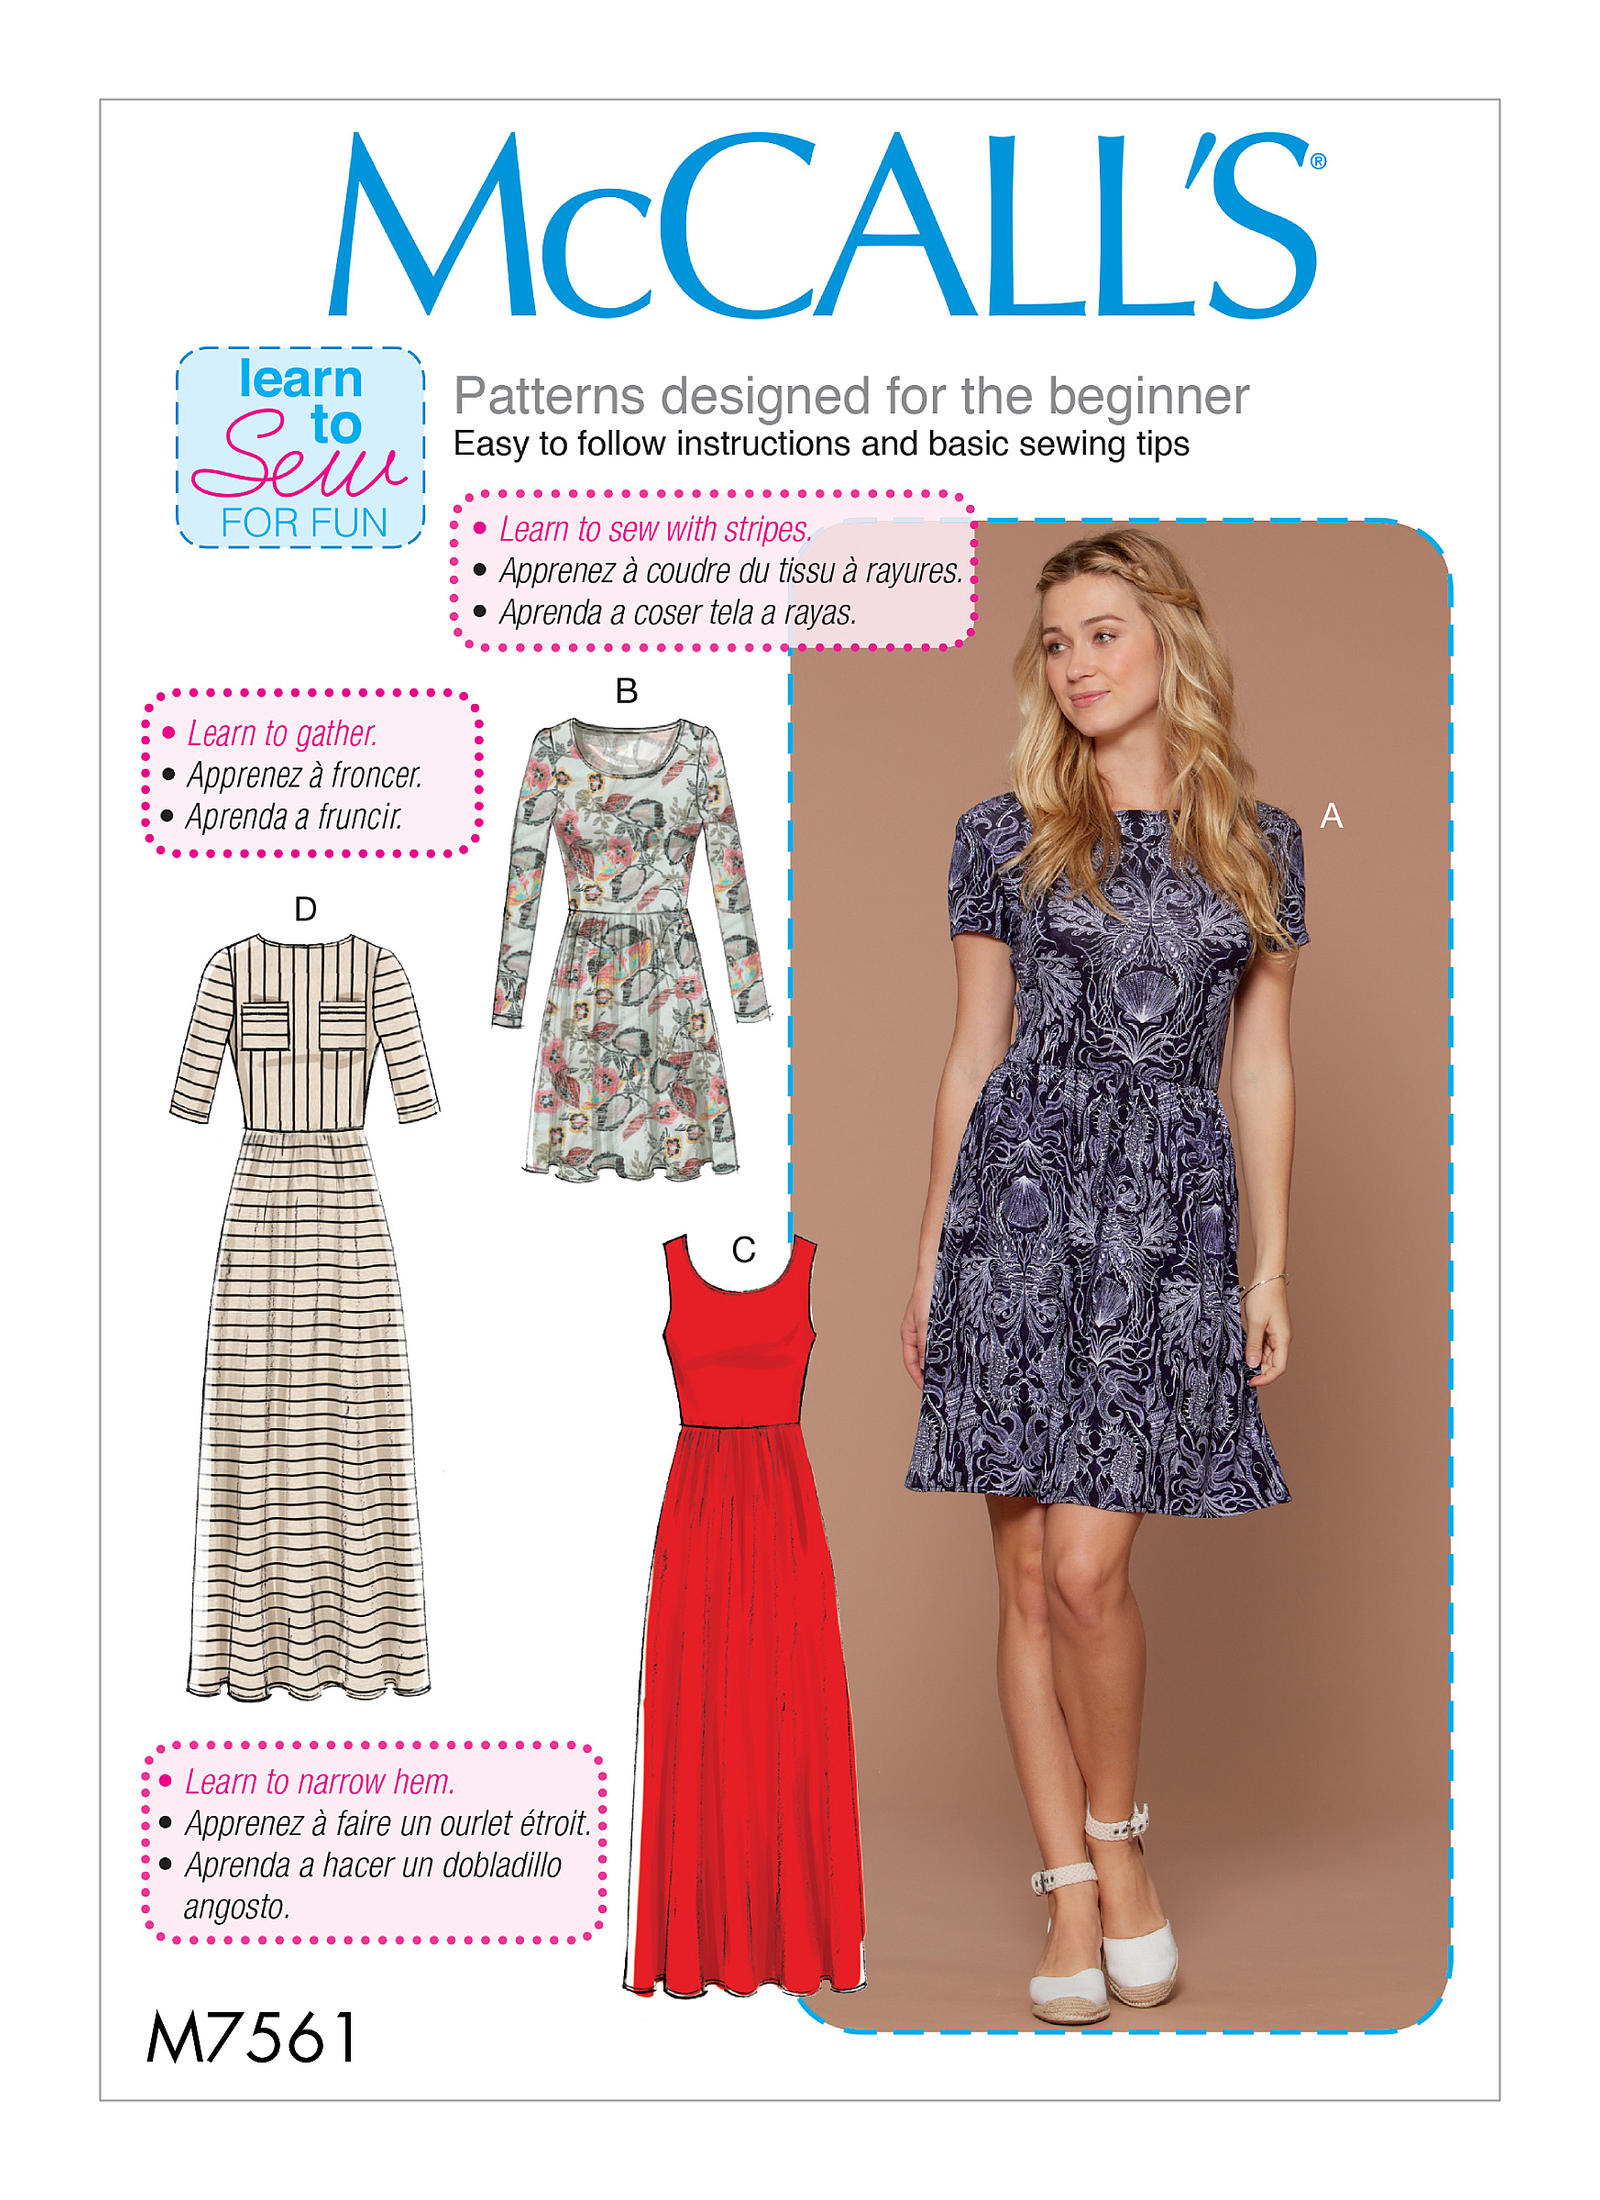
I love the lines of this dress--it is classic in its styling but also has a bit of a modern twist, if you know I mean.

Here is an image of both view of the pattern.  I did a mashup of views 1 and 2.  Right?  I do love to do my own thing.

Image result for Images Penny dress by Colette

I used the bodice of view 1 without the pockets and the skirt of view 2 without the belt feature.  Think about that for a minute.   This is a fairly new release.  In fact, I couldn't find a review on Sewing Pattern Review prior to me starting this project.  


My fabric choice was a precut yardage from Fabric mart.  This is a challis that I purchased for the bold pattern and print in deep navy and white.  


It almost reminded me of a super wild bandanna print, but more sophisticated.  Is that an oxymoron?  


I made a few changes to the pattern based on the manner in which it was drafted--or at least I think that was what it was due to.  I did some flat pattern measurements and found the bodice, waist, and hips would fit great.  


Pattern placement was fun to play with for this dress.  The front and back bodice were the easy parts to match the pattern.  However the skirts were not based on the grainlines the pattern requested.  


Honestly, based on how busy the design is, pattern matching only really needed to happen on the bodice and collar sections.  The skirt and sleeves would have to be an afterthought, unless you had a solid and a lot of yardage.  Mine started at over four yards and I didn't have enough to make everything match.  Fight it or let the dress design win.  If you only have so much yardage, then the dress design has to win.  


The skirt has a lot of movement, even though I made the less full skirt.  It still has a lot of body, twirl, and flow as you move.  Also, it was super hard to get an even hem, despite leaving it be on the dress form for 48 hours.  


I do like the overall fit. Colette patterns seem to be made for girls with a bigger than b-cup bodice.  I didn't need an FBA.  I only needed a sloping shoulder adjustment and swayback adjustment.


For the sleeves however, it wasn't so easy.  The ease and length of sleeve cap is absolutely ridiculous.  I followed the directions to a T and there was no way on God's green earth easing the sleeve cap would work.  In case you are wondering, I do know that if you make a sloping shoulder adjustment, you also need to adjust the lower portion of where the sleeve attaches to the bodice.  It wasn't operator error in this case.     


What I ended up doing was to take an inverted pleat at the sleeve head to accommodate the massive amount of ease.  I just hate it when I can't get everything to work together.  I put in three rows of ease stitching about 100 pins to facilitate the amount of ease needed.  Neither was no way near enough.  After five tries, I gave up and went for the inverted pleat at the top of the sleeve cap.  It works.    


I am so proud of my pattern matching on the bodice.  May I say it looks fantastic?  I hope so as I think it does!  


I decided to wear a belt with this dress.  Here is the reason why.  The lower portion of the facing that accommodates you putting on the dress as well as taking it off had zero buttons.  There is at least a six in span of fabric that needs something there otherwise you will get gaping. In the photo below, you can see the bottom portion of the dress where I added two button and buttonholes.  The buttonholes  do need to be functioning in order to get the dress on and off.  


My pointer finger is at the waistline and my other fingers span the area between it and the second buttonhole I added.  That isn't even the bottom of the placket.  That is a pretty large span if you ask my opinion.  At some point in time, someone will see whatever you decide to wear as undergarments.  Don't think it won't. You will be disappointed.  


I really like the lower sleeve detail as it is fun but hard to see based on my busy print.  I really like my finished dress.  It wasn't difficult to sew by an means but if I can be completely honest, I am disappointed in the pattern.  I expected a better fit in shoulder and sleeve area.  I am however happy with my finished result.  

Thanks for reading!
Sue  

Sunday, August 13, 2017

a very fall-like dress: McCall's 7561

I scored some lovely Stof knits the last time I was in Baton Rouge, visiting DD1, SIL1, and granddaughter 1.  I so love this stuff!  It is 95% cotton and 5% Lycra.  It sews like a dream!  


I knew I wanted a simple dress for fall that I could highlight with shoes, jewelry, or style.  I used McCall's 7561 as my base and added a super simple design with adding little bias strips across the chest...just for something different.  I see styles like this all over the place.  

Here is my base pattern: 

Image result for images McCall's 7561'
I used the neckline of C, the sleeves of D, and the length of A & B.  


See what I mean about the shoes and jewelry?  I love these shoes! Super simple and minimal jewelry.  


So lets talk a minute about the neckline.  All I did was turn the neckline under 1/4" and secured it with fusible knit stay tape by Emma Seabrook.  Her company is called Seweyekeys.  Truly this is the best stuff in the world.  For the neckline, as I said I used 1/4" and for the sleeves and lower hem I used 1/2" tape from her as well.  


So, back to the self-fabric tubes I made.  I just cut two strips about 1 1/4" wide with my rotary cutter and a straight ruler.  After cutting, I sewed these on my serger, turned them, and pressed lightly.  Next I just played with the position and length until there was no pulling on the neckline.  It really didn't take very long to get this right.  Before stitching down, I measured both to make sure everything was symmetrical and after a very minor adjustment, I sewed these down.  


Here is the stitch I like to use on my regular sewing machine.  It is for stretch fabrics and works so much better than my coverstitch.  I really should just sell that thing.


And here is an obligatory photo of the back.  I like how it fits.  

So, as you can see above, I still need a tweak or two to fix the front.  I made my usual FBA, sloping shoulder adjustment, and swayback adjustment.  Those little folds at the armpit area are either due to my needing to create a dart with this very stretchy fabric or the tubes I added.  Honestly, they were not there prior to sewing those on.  Any advice would be appreciated!

Thanks for reading and I hope you are enjoying the remaining days of summer!

Sue 


Saturday, August 12, 2017

A little fall sewing--Lorie Jacket and Angela Wolf's fringe skirt

Starting late-ish summer, I like to start making some garments that will transition into fall.  When I found this boucle from Fabric Mart, I knew exactly what I was going to make--a sort of 'modern suit' for work.  


First of all, thanks to DD1 for taking the photos.  We took these in Louisiana, where it was super hot and humid that day.  


Pattern wise, I used the Style Arc Lorie jacket, one I've made before.  

Lorie Jacket Sewing Pattern By Style Arc - Designer look without the complication!

The first one I made I used the self fringe trims at the yokes and center front.  This time, I knew I wanted to highlight the fringe on the skirt, plus fringe on both would have been too much.  

Image 1

This is a cute little skirt pattern.  It is fully lined and you use self-fabric for the fringe.  Using a boucle works just great!  


I really love the lining fabric.  It is a Maggy London print, also from Fabric Mart.  I wish I would have bought an entire bolt of it as it is so fun and cheerful.


Here you can see me in process of the binding.  I used a lightweight denim I cut on the bias.  This fabric was in my stash.  I also decided to cut the front band the bias, just to add another bit of interest to the jacket.   


I really love how well the skirt fits.  I feel like this pattern runs large.  I started with a 14, per my measurements, took this in more than two inches.  Be aware of the sizing!  Before I sew in the darts on a skirt, I try it on and then pin where they should lie.  This works well for me.  


I did quite a few things to keep my sleeves hanging properly.  First, let me back up.  I interlined the front and back garment using fusible interfacing from Joanns.  For the sleeves, I did try interlining but it didn't look right as the sleeves looked stiff.  However, the sleeves were collapsing at the head so I took two layers of medium weight sew-in interfacing that was cut on the bias and attached those to the sleeve head.  This also didn't prove enough so I added another layer of hair canvas, also cut on the bias.  This was exactly what I needed. 


This skirt calls for an invisible zipper.  Don't be afraid of putting one in on a textured fabric.  Take your time, practice if necessary and then do it!


I think this fringe is super cute!  I want you to keep in mind that I am 5'7" and this length is unaltered.


The skirt is also lined with the fun print I used on the jacket lining.  


I am very happy with my new outfit!  

What's on your sewing table this time of year?
Sue :)